djl
Interactive Development
This sections introduces the amazing toolkits that the DJL team developed to simplify the Java user experience. Without additional setup, you can easily run the tool kits online and export the project into your local system. Let’s get started.
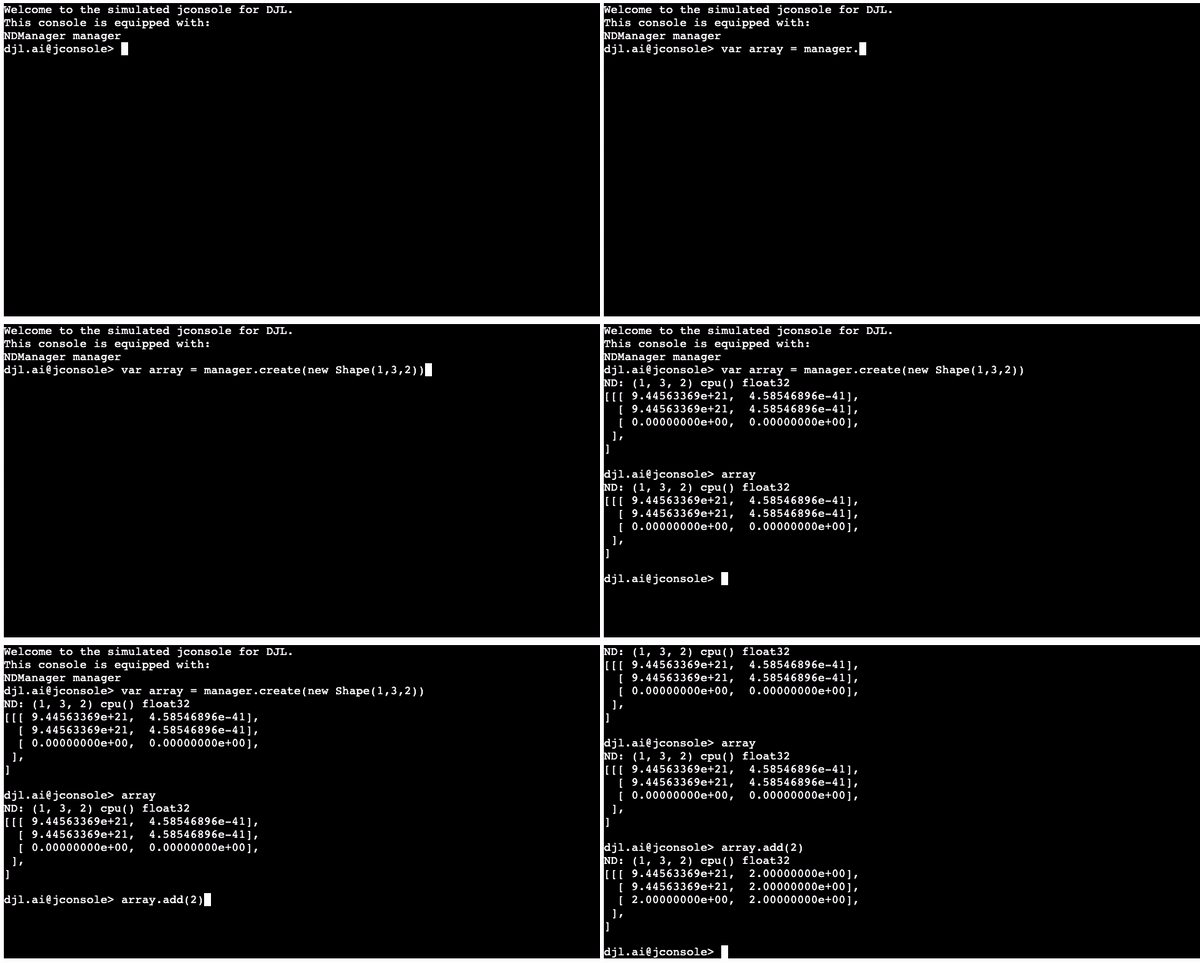
Interactive JShell

Interactive JShell is a modified version of JShell equipped with DJL features. You can use the existing Java features as well as DJL classes. To test out some functions in DJL, use this JShell to try methods defined in the Javadoc. We created useful operators to use in your deep learning applications. For more information about this JShell, see the Interactive JShell and Block Runner for DJL demo.
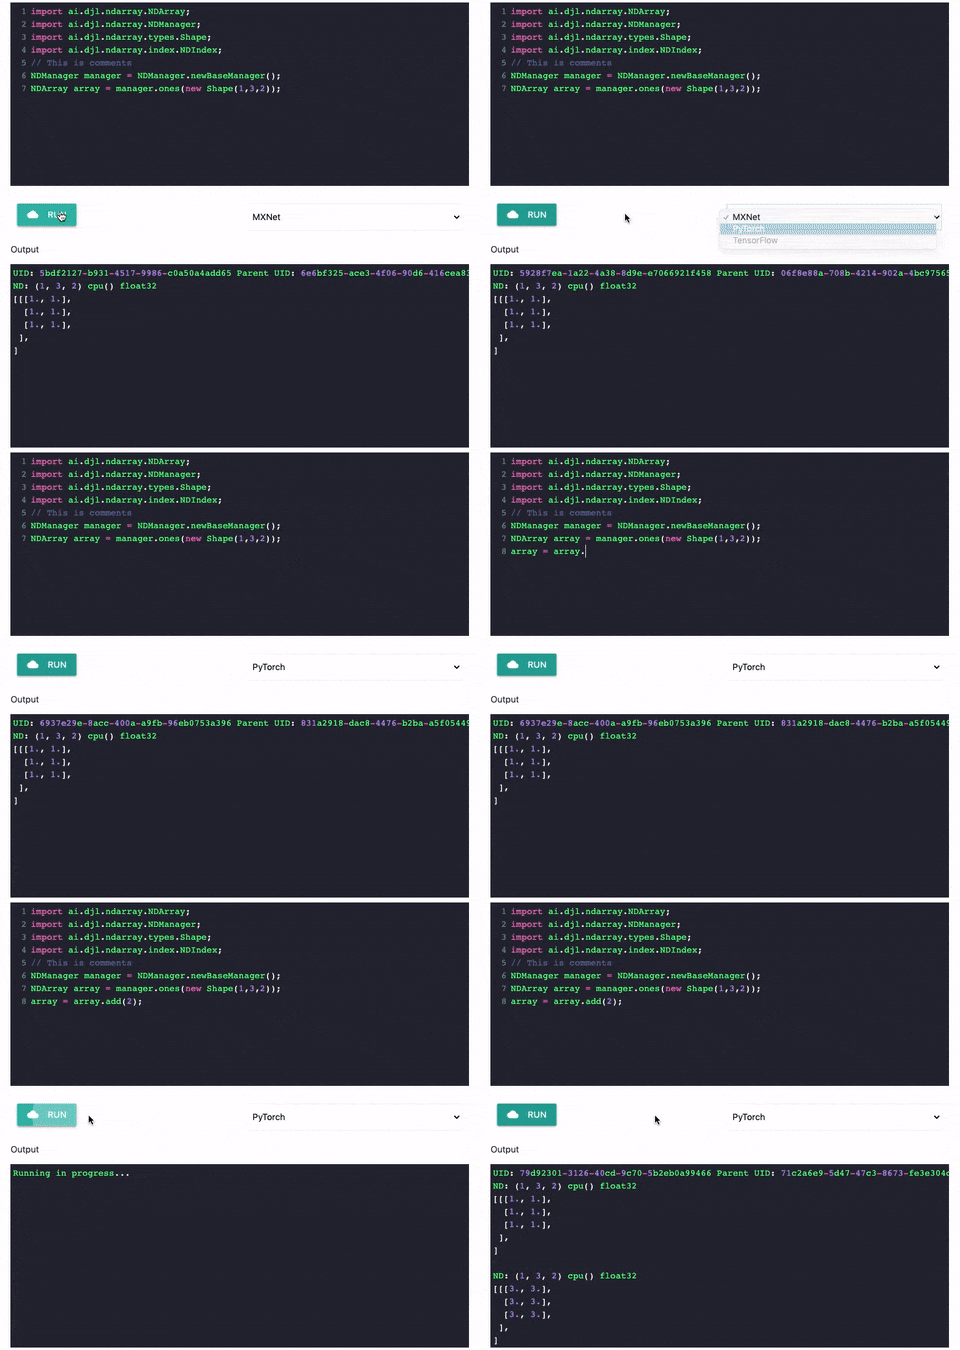
Block Runner

Block Runner is designed to be simple. It allows you to run Java code line by line without worrying about the class structures. As shown in the gif, you can simply craft some code and click the “Run” button to run it online. We offered different engines to serve on the backend. Once you finish the testing and would like to run locally, you can just click “Get Template”. It generates a gradle template with the code you just wrote. You can use it freely in your local system without additional setup. For example, you can try to load a MXNet model for inference by copying the follow code into the block runner as follows:
import ai.djl.inference.*;
import ai.djl.modality.*;
import ai.djl.modality.cv.*;
import ai.djl.modality.cv.transform.*;
import ai.djl.modality.cv.translator.*;
import ai.djl.repository.zoo.*;
import ai.djl.translate.*;

String modelUrl = "https://alpha-djl-demos.s3.amazonaws.com/model/djl-blockrunner/mxnet_resnet18.zip?model_name=resnet18_v1";
Criteria<Image, Classifications> criteria = Criteria.builder()
  .setTypes(Image.class, Classifications.class)
  .optModelUrls(modelUrl)
  .optTranslator(ImageClassificationTranslator.builder()
                 .setPipeline(new Pipeline()
                              .add(new Resize(224, 224))
                              .add(new ToTensor()))
                 .optApplySoftmax(true).build())
  .build();
ZooModel<Image, Classifications> model = criteria.loadModel();
Predictor<Image, Classifications> predictor = model.newPredictor();
String imageURL = "https://raw.githubusercontent.com/deepjavalibrary/djl/master/examples/src/test/resources/kitten.jpg";
Image image = ImageFactory.getInstance().fromUrl(imageURL);
predictor.predict(image);
After that, click run and you should see the following result:
[
    class: "n02123045 tabby, tabby cat", probability: 0.41073
    class: "n02124075 Egyptian cat", probability: 0.29393
    class: "n02123159 tiger cat", probability: 0.19337
    class: "n02123394 Persian cat", probability: 0.04586
    class: "n02127052 lynx, catamount", probability: 0.00911
]
Finally, you can get the running project setup by clicking Get Template. This will bring you a gradle project that can be used in your local machine.
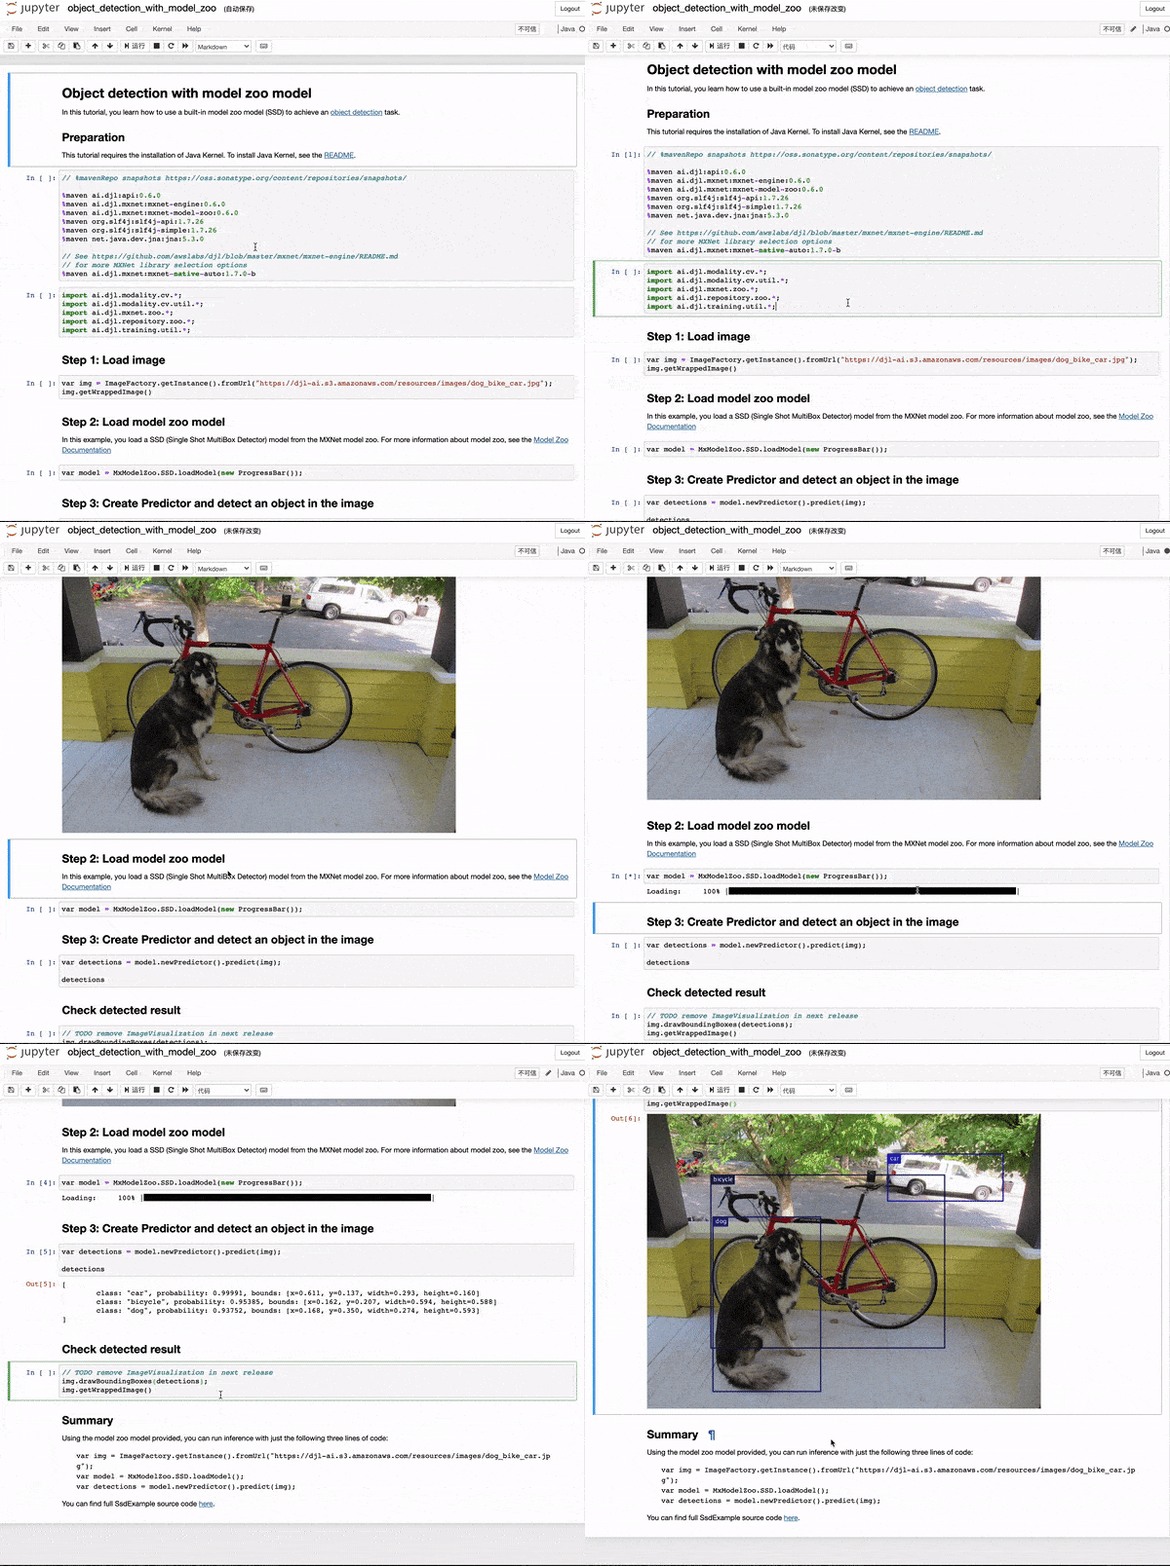
Java Jupyter Notebook
Wait a second, are we talking about hosting Jupyter Notebook in python? No, it’s Java 11, only.

Inspired by Spencer Park’s IJava project, we integrated DJL with Jupyter Notebooks. For more information on the simple setup, follow the instructions in DJL Jupyter notebooks. After that, use the Jupyter Notebook freely in your hosted server. You can do all kinds of work, like block building and plotting a graph. There are tutorials and instructions to guide you how you can run training and/or inference with Java.